If you've read this blog, you have probably figured out that I like to be nice and visible when riding a motorcycle. The very first thing an oncoming driver can see is your helmet, so a helmet that is visible from a distance is important to me.
Many people love fancy graphics and, I'll admit, they look nice when you hold the helmet in your hands, but from 100 yards away, you need a light, bright, solid color to maximize your visibility to other drivers.
Last fall, I was due for a new helmet and, because it was the end of the Snell 2005 era, there were many good deals available. There was also a slim selection of colors as these were the last run of the 2005 spec helmets. In the end, I found 2 helmets, a Shoei X11 (king of good ventilation) and a Vemar VTXE. The Vemar came at such a good price, I thought it would make a good learning helmet for painting. You see, neither helmet was my preferred color and I would need to learn how to paint.
So in this project, I learned about water borne urethane paints, air brushes, and a little about graphics. Oh yeah, and I was totally clueless about mixing paint colors.

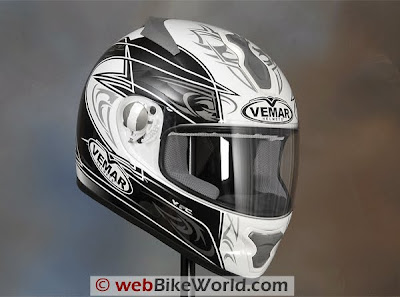
The Vemar started out as white with red and black graphics. I forgot to take a "before" picture, so here is a picture of the helmet from one of my favorite websites, WebBikeWorld. This isn't the exact graphics, but its still complicated like what I started with.

My first step was to sand it down and paint it a white base coat. I thought about leaving it white, since the sculpture of the vents looked nice, but I stuck to my plan.
The back of the helmet was getting a checkered flag look with white and yellow. Here is my masking tape checkered flag. I learned that you can mask a pretty clean line with masking tape, but if you pull it off and then need to remask and repaint the line, its hard to keep a clean line because the discontinuity of the paint thickness lets the paint bleed under the mask.

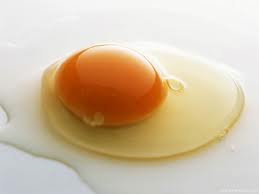
Getting the right paint color was an education. I thought that to make yellow a darker color, you simply added a touch of black. Nope. All that gets you is a muddy green. After being schooled on the color wheel and buying some red to darken my yellow, I came up with two colors I liked. The first was a dark yellow, similar to my old helmet. That was made with 2 drops of red added to yellow. Add one more drop and the color changes to an orangey yellow that I call "Egg Yolk". I decided to paint this helmet "Egg Yolk" because its shape reminds me a little of a fried egg. So here is the end result. Just don't look too close.

I like the way the color turned out. In the car biz, they say that this paint as a lot of "flop". That means that the color looks darker, even a different color, in shadow as compared to direct light. Egg yolk is clearly yellow in direct light, but has a an orange/red tint in the shadow.

I wanted to blend in the "spoiler" on the top, so I painted a black accent graphic. I thought it looked like horns, but my niece says its definitely "Transformers".

In the end, I learned a lot and have a unique helmet that meets my goals. Hopefully next time, I'll make fewer mistakes and not take so long.

Looks good to me, Jac. I thought maybe you'd have gone for some airbrush art of a naked lady riding a bear while lightning crashes around her, but Transformer spikes are almost as good.
ReplyDeleteLooks great!
ReplyDelete